Showing posts with label cake. Show all posts

Sunday, April 24, 2011

Family Tradition

Bunny Cakes have made an annual appearance on my family's Easter table for as long as I can remember.

Every Easter, my mom, my sister, and I would make a Bunny Cake for each of our neighbors, plus the grandparents, as well as our own table. My sister and I would walk to each neighbor's house, most likely leaving a trail of green coconut and jelly beans behind us (I'm also assuming I had chocolate around my mouth--it was a semi-permanent look for me as a kid).

Bunny Cakes were frosted with only two distinct flavors at our house: Pink Frosting or Coconut Pecan. I was always a Coconut-Pecan girl, myself.

Ah, memories.

For the past few years, I've maintained the title of "Keeper of the Bunny Cake" for the family. I've upgraded from the Funfetti boxed mixes we used as a kid, to now making a classic vanilla cake recipe (known as the Dinette Cake) from Betty Crocker's old-school cookbook. For frosting, I use a basic buttercream with almond extract. In the words of Ina, How easy is that?

I asked Adam yesterday if I should make Bunny Cakes for all of our neighbors this year. He looked up from the pile of frosting-coated, coconut-caked dishes he was washing, and I knew it would be another year before Bunny Cakes made an appearance in our kitchen :)

Bunny Cakes

While I went with a classic white bunny for this year's cake, why not get creative with your Easter dessert centerpiece? Use strawberry, lemon, or even caramel frosting. Coat your bunny with coconut--or coat your bunny with chopped, toasted pecans. The sky is the limit in bunny decorating.

Dinette Cake Ingredients:
  • 1 - 1/4 cups all-purpose flour
  • 1 cup sugar
  • 1 - 1/2 tsp. baking powder
  • 1/2 tsp. salt
  • 3/4 cup milk
  • 1/3 cup shortening
  • 1 egg
  • 1 tsp. vanilla
Other Bunny Cake Ingredients:
  • 1 recipe for your favorite frosting
  • jelly beans
  • coconut, tinted with green food coloring
  • large marshmallows
  • optional: chocolate chips
Directions:
1) Preheat oven to 350 degrees. Coat a 9 inch circular cake pan with cooking spray.

2) In a large mixing bowl, combine dry cake ingredients. Add milk, shortening, egg, and vanilla. Beat on low speed for 30 - 60 seconds. Beat on medium-high speed for an additional 2 minutes.

3) Pour cake batter into pan and bake for 30 - 35 minutes, or until toothpick inserted in the center comes out clean. Place cake on a cooling rack and allow to cool for at least 3o minutes. Remove from pan and cool completely.

4) To assemble the bunny body: Cut the cake into two equal halves. Generously frost one side of one of the cake halves. Sandwich the two cake halves together, frosting side in, and set the "cake sandwich" up (flat side down) on your serving platter. Frost the outside of the cake generously.

5) To make the bunny face: On one end of the cake, attach three large marshmallows in the shape of an upside down triangle. Cover generously with frosting. Affix two chocolate chips with frosting for the eyes, and a pink jelly bean for the nose. Cut ears out of paper. Attach one large marshmallow to the opposite end of the bunny for a tail.

6) Sprinkle green coconut and jelly beans around the bunny for serving.

Thursday, January 27, 2011

Why I'm Not a Pastry Chef

Please don't hold the following picture against me:

No, it's not a second grade art project. Nor is it a practical joke at a clown's birthday party.

Nope. This odd-looking treat is my attempt at this month's Daring Bakers Challenge.

It's a good thing that I love my job, because the results of this project are a fantastic reminder that I was meant to be a social worker...and not a pastry chef.

The January 2011 Daring Bakers' challenge was hosted by Astheroshe of the blog Accro. She chose to challenge everyone to make a Biscuit Joconde Imprime to wrap around an Entremets dessert.

Basically, the dessert is comprised of a sponge cake--with colored patterns baked into it--that serves as a wrapper for a dessert filling. The filling could be layers of custard, pastry cream, pudding, cheesecake filling, etc.

I can't lie: This challenge scared me a little from the get-go. I had never heard of this dessert before, and I also seemed incapable of pronouncing its name. I'd never made a pastry cream, let alone a "cake wrapper." Basically, I was a ticking time-bomb with this recipe, and it's no wonder I completed the challenge without a spontaneous explosion of custard in my kitchen.

Still, I had a great, messy time tackling this French dessert and, despite my epic flop, I enjoyed the wild ride. Plus, it still tasted delicious, which is always a bonus.

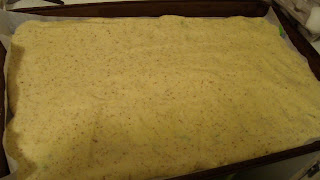
The filling for my dessert was a rich chocolate pudding (made only of melted chocolate and tofu), layered with crushed Oreos and an Oreo crust. The color designs in my jocande sponge were supposed to be purple and green, but they darkened a bit too quickly in the oven.

I definitely recommend this dessert if you're looking for a fun Saturday afternoon project, and you have lots of patience and precision in your baking. Below I've spared you a lengthy recipe in favor of a brief photo depiction of the steps you take to make this dessert.

Have you ever attempted a Joconde Imprime dessert? Share details, please!

Joconde Imprime and Entremets Dessert
(check out Martha Stewart's recipe for a good intro to this French treat)

Super-Simplified 5-Step Directions:

1) Make Patterned Joconde Paste:
  • The decor paste is similar to a frosting in consistency, and food coloring can be used to achieve the colors you want for your joconde.
  • Place your paste in a ziploc bag and cut off the tip. Then, create your own patterns on a large piece of parchment paper. Place the parchment paper on a large cookie sheet and freeze until hardened (about 20 - 30 minutes).
2) Make the Joconde Sponge Cake:
  • While the paste is freezing, prepare the sponge cake batter, and preheat the oven to 475 (yes! It's VERY hot!).
3) Cake Goes in the oven:
  • Remove the patterned paste from the freezer. Pour the cake batter over the pattern and spread evenly to coat. Bake for 8 - 10 minutes, or until cake is cooked through (don't over-bake!).
4) Prep the cake for wrapping:
  • Flip the cake onto a piece of parchment covered with powdered sugar. Slice into strips of the appropriate size to fit your mold.
5) Set up the wrapper; pour in the filling
  • Line the sides of springform pan with parchment paper. Make a crust to fill the bottom of the pan (I made an Oreo crust). Place the sliced cake wrapper around the edges of the pan, patterned side out. Layer your filling inside (I layered the tofu-chocolate pudding with crushed Oreos). Remove outer edge of springform pan; refrigerate dessert.
It may not look too pretty, but it sure is mighty tasty :)

Sunday, December 19, 2010

Week of Sweets: Day 2, Brownie Pudding Cake

Brownie Pudding Cake rocks my world.

Imagine combining Ina Garten's Outrageous Brownies with classic Hot Fudge Pudding Cake. Ooey, gooey, warm, and fudgy...This puppy literally oozes chocolate deliciousness.

And please don't forget that scoop of vanilla ice cream. It's essential.

Friends, there is little else I can say about this recipe. It's ridiculously scrumptious, and I'm convinced it's one of the best recipes Ina Garten has graced us with. It's got the outer crust of a brownie, but the inside rocks a gooey brownie batter/pudding consistency. Molten chocolate overload in the best possible way.

I baked Ina's Brownie Pudding for my dad's birthday party today. The Grill Sergeant's birthday is on December 25, so we always celebrate the week prior to Christmas so he can have his own special day.

And with Brownie Pudding Cake on the menu, it certainly was a special day.

Brownie Pudding Cake

This molten chocolate brownie pudding will blow your chocolate-loving mind. Don't forget the vanilla ice cream...it's simply not optional.

Ingredients:
  • 1 cup butter
  • 4 large eggs
  • 2 cups sugar
  • 3/4 cup cocoa powder
  • 1/2 cup all-purpose flour
  • 1 tsp. vanilla extract
  • Vanilla ice cream for serving
Directions:
1) Preheat oven to 325 degrees. Coat a 2 quart casserole dish with cooking spray and set aside.

2) Melt butter in a small saucepan on the stovetop; set aside.

3) With an electric mixer, beat eggs and sugar until thick and light yellow (about 5 - 8 minutes). When egg and sugar mixture is ready, add the cocoa powder and flour and mix on low speed until just combined. Slowly add the melted butter and mix again until just combined.

4) Pour the batter into the prepared dish and place the dish in a larger baking pan. Add hot tap water to the larger pan until it comes halfway up the side of the casserole dish. Bake for exactly 1 hour. The center will appear under-baked (oh yum!). After cooling, serve with a big ol' scoop of vanilla ice cream.

Sunday, December 12, 2010

Making Lemonade with Caramel Cake


When your hot water heater breaks on Friday night, you know it's going to be an awesome weekend.

We're talking boiling pots of water to wash dishes.

Skipping a shower...or two (I shudder as I type this.).

And lots of confusing discussions about brands, prices, and energy savings on a large appliance you know little to nothing about.

Like I said: Awesome weekend.

However, even in life's "lemon" moments, there's always room for more lemonade, right?

Today's taste of lemonade: Birthday Caramel Cake with Caramel Frosting to celebrate Adam's 27th. This Caramel Cake wasn't just the bright spot of the weekend...it was to-die-for delicious. I'd give up another week of hot water for more of this Caramel Cake.

On second thought, no I wouldn't. But the cake is truly decadent and totally 27th-birthday-worthy.

Ultimately, things are looking up. We got showers at my parents' house today (I never thought I'd be so happy to see a bottle of shampoo). A new hot water heater is being installed tomorrow. There's been plenty of tree-decorating action (see cheesy picture below). And there's another slice of Caramel Cake waiting to be devoured later tonight.

Don't be fooled: My sister and I decorated the tree--we just dragged the men in for the picture.

Today was all about the lemonade :)

Birthday Caramel Cake with Caramel Frosting
(recipe adapted from James and Martha Pearl Villas' recipe in Birthday Cakes cookbook)

This was my first Caramel Cake, and I will definitely not be looking for another recipe--it was perfect! The only caveat I must mention is the baking time: this cake called for three 9 inch pans, but I only used two. After 30 minutes of baking, I basically stood by the oven with the oven light on and waited until it appeared done to take it out. So, be cautious with the baking time and check back often for done-ness!

Cake Ingredients:
  • 2 - 2/3 cup all-purpose flour
  • 2 tsp. baking powder
  • 1 tsp. salt
  • 1 cup of unsalted butter, at room temperature
  • 2 cups granulated sugar
  • 4 eggs
  • 1 cup milk
  • 1 tsp. vanilla extract
Frosting Ingredients:
  • 1/2 cup butter
  • 1 - 1/2 cups brown sugar
  • 1/2 cup milk
  • 4 cups confectioner's sugar
Directions:
1) Preheat oven to 350 degrees. Coat 2 nine inch baking pans with cooking spray and set aside.

2) In a large bowl, cream together the butter and sugar with an electric mixer until light and fluffy. Add the vanilla and beat in the eggs one at a time. In a separate bowl, combine the flour, baking powder and salt. Alternately add the dry ingredients and the milk to the butter mixture, beginning and ending with the dry ingredients.

3) Pour batter into prepared pans. Bake for 30 - 40 minutes, or until cake is golden brown on top and a toothpick inserted in the center comes out clean (as previously mentioned, the baking time is approximate, so check back often after 30 minutes for done-ness).

4) To prepare frosting: Melt the butter over low heat in a saucepan. Add the brown sugar and milk and bring to a boil. Remove from heat and allow to cool. Beat in the confectioner's sugar until well-blended. This frosting is very thick--in the world of icings, this was a consistency that's new to me. Work quickly when frosting the cake to prevent crumbs from mixing in (I lightly warmed some of the frosting in the microwave to keep it soft while I frosted the cake).

Saturday, November 13, 2010

Move Over, Pumpkin Pie...Gooey Cake Has Arrived


Sometimes you've just got to put clean-eating on the shelf, and indulge in those decadent dishes that are reserved for the holiday season.

Enter Pumpkin Gooey Butter Cake.

My friend Lisa introduced me to the world of Gooey Butter Cake a few years ago, and since then the pumpkin version has been out-shining the standard pumpkin pie at our annual Thanksgiving feast (Sorry, P-Pie fans. This guy puts those basic pies to shame).

The recipe I use comes straight from Queen of Southern Cooking herself: Ms. Paula Deen. With Paula at the helm, there's obviously no way around the butter-rific nature of this dessert. I mean, it is called Pumpkin Gooey Butter Cake. And I do apologize for the use of a boxed cake mix--I'm not a fan of making desserts that start with a box. However, I'm more than happy to set aside my boycott for this over-the-top holiday dessert.

It's worth it. I promise.

Close your eyes, pull the cake mix off the grocery store shelf, and picture that gooey, buttery, pumpkin-y piece of goodness you'll be enjoying in a few hours.

This dessert is perfect for holiday parties, festivities at work, or as a creative twist on Thanksgiving Day dessert. For an after-dinner dessert at a sit-down meal, serve each piece with a fork (it's gooey). For party situations, I like to cut it in mini squares and place each square in a foil-lined cupcake liner.

Since I wanted you all to have this recipe prior to your T-Day meal planning, I thought I should make it today so you, too, can try it before you decide to add it to your Thanksgiving menu.

So as you can see, I made Pumpkin Gooey Butter Cake today for your benefit. No benefit to me at all. Nope--I wasn't craving a piece for myself. Not one bit.

Who are we kidding? I'm just grateful I have a blog to use as an excuse to make these two weeks early :)

See ya later, pumpkin pie. Pumpkin Gooey Butter Cake is on the scene now. And she means business.

Pumpkin Gooey Butter Cake

If you're not up for the pumpkin version, check out Paula's website for tons of variations you can make--chocolate-peanut butter, lemon, vanilla, pineapple, and much more!

Crust Ingredients:
  • 1 package of vanilla cake mix
  • 1 egg
  • 1/2 cup of butter, melted
Filling Ingredients:
  • 1 package of cream cheese, softened (reduced fat cream cheese works fine)
  • 1 can of pumpkin puree (15 oz.)
  • 3 eggs
  • 1 tsp. vanilla extract
  • 1/2 cup butter, melted (yep! I told you this was a butter-rific recipe)
  • 3 - 3/4 cups confectioner's sugar
  • 1 tsp. cinnamon
  • 1 tsp. nutmeg
Directions:
1) Preheat oven to 350 degrees. Lightly spray a 13 x 9 pan with cooking spray.

2) Combine the crust ingredients with an electric mixer. Press into the bottom of the prepared pan and set aside.

3) Beat the cream cheese and pumpkin together until smooth. Add the vanilla and butter and blend until thoroughly combined. Gradually add the confectioner's sugar, cinnamon, and nutmeg, and beat batter until smooth. Pour filling over crust and bake for 40 - 50 minutes (mine is usually done around 45 minutes). The cake will not be set, and a toothpick will not come out clean! (hence the gooey part).

4) Allow to cool on a wire rack completely, then refrigerate for at least a few hours before serving.

5) You can go back to clean eating tomorrow. For now, just enjoy this heavenly ride :)

Wednesday, November 3, 2010

Funfetti Anniversary


2 nerds + 3 years of marriage = 1 happy family

Three years ago today, this was my November 3:

Good times :)

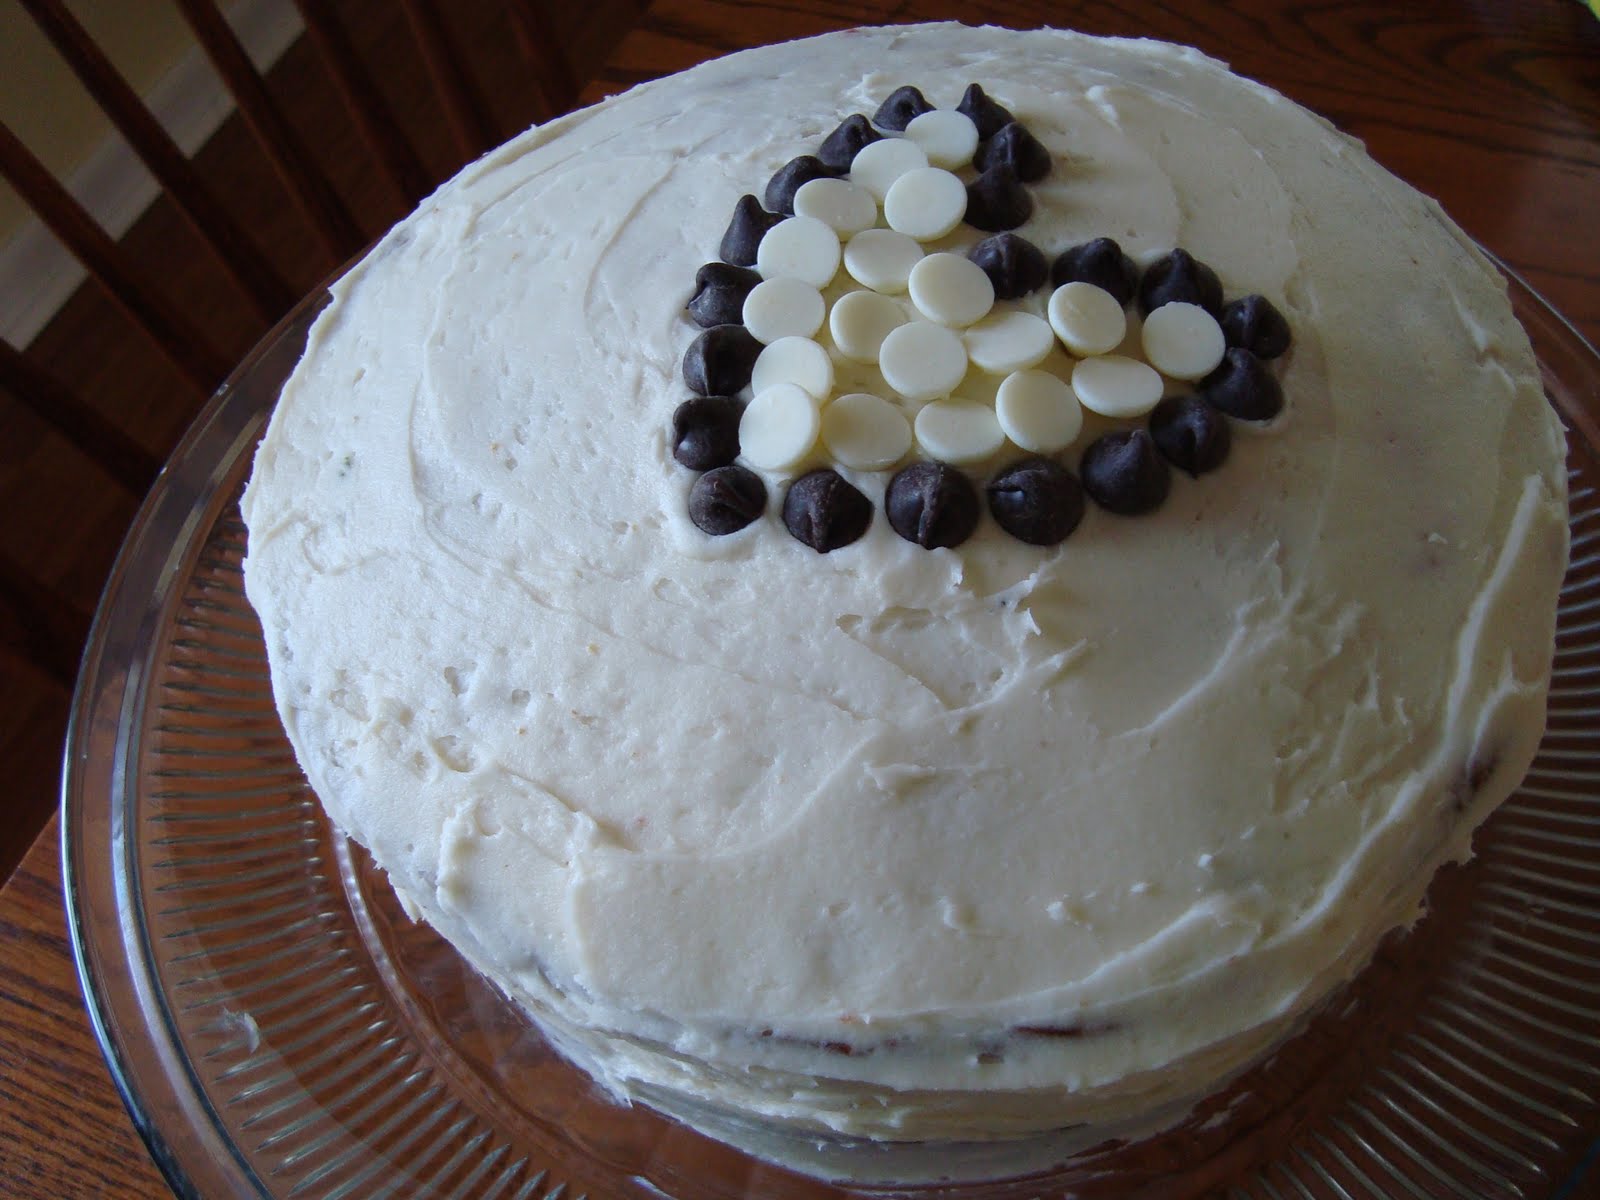
While we served our wedding guests some delicious "grown-up" cake (chocolate + raspberry and vanilla + vanilla cream), Adam maturely requested that our portion of the cake be "Funfetti." What can I say? The man loves sprinkles in his cake.

In celebration of today's anniversary, I surprised him with a homemade Funfetti cake. Forget Duncan Hines. The Hungry Spoon version of this wedding day dessert involves Cooking Light's basic vanilla cake recipe, with colorful sprinkles (and a little lovin') mixed right in.

This is a bowl-heavy cake to prepare. The recipe guides readers through four different mixing bowls, including the classic "beat the egg whites alone before adding them in" process. No worries though--the cake was super tasty, and the shock on Adam's face when he discovered the colorful cake made the labor-intensive prep well worth it.

The icing is by no means healthy, but it's ridiculously good--and it's the same recipe our dear friend Mrs. Gallon used when she made our wedding cake. I marvel at people who can make icing and not lick the beaters when they're finished. You couldn't pay me to leave an icing-coated beater without enjoying its leftovers.

Enough of my rambling, though. You've got some baking to do, and I've got some cake to eat.

What's your favorite "celebration food" to make?

Funfetti Anniversary Cake
(recipe adapted from Cooking Light magazine)

Who needs a cake mix when you can make your own Funfetti cake? Use seasonally-colored sprinkles to match your cake for a holiday-theme (red and green sprinkles for Christmas, anyone?)

Cake Ingredients:
  • 2 - 3/4 cup cake flour
  • 1/2 tsp. baking powder
  • 1/2 tsp. baking soda
  • 1/2 tsp. salt
  • 1 cup nonfat buttermilk
  • 1/4 cup skim milk
  • 1 cup sugar
  • 5 TBSP butter, softened
  • 2 TBSP canola oil
  • 3 large egg yolks
  • 1 tsp. vanilla extract
  • 3 large egg whites
  • approximately 1/4 cup rainbow sprinkles (or whatever amount looks good to you!)
Frosting Ingredients:
  • 1/2 cup butter
  • 1/2 cup non-hydrogenated vegetable shortening
  • 3 cups powdered sugar
  • 1 tsp. vanilla
  • 1 - 3 TBSP milk

Directions:
1) Preheat oven to 350 degrees. Coat two 8 inch round pans with cooking spray.

2) Combine dry ingredients in a bowl. In small bowl, combine buttermilk and skim milk. In a large bowl, beat butter and sugar together at medium speed until well-blended. Add oil and egg yolks, beating well. Alternately add flour mixture and milk mixture to the butter mixture, beginning and ending with flour mixture, and beating until just combined.

3) Place egg whites in a bowl and beat with a mixer (with clean beaters) on high speed until foamy. Gently fold egg white mixture into batter. Stir in sprinkles. Divide batter evenly between the pans. Bake at 350 degrees for 28 minutes, or until a toothpick inserted in the center comes out clean.

4) To prepare frosting, beat butter and shortening together until well-combined. Add 2 cups powdered sugar, vanilla, and 1 TBSP milk; beat well. Add remaining powdered sugar. Add milk and sugar as need to bring the frosting to your desired consistency.

5) Enjoy a piece with your favorite person :)